Thanks to a request by
Miguel Sousa on Facebook I decided to do a basing tutorial for my voodoo genestealer cult. The basing is very easy and takes, maybe about a minute to do if you have an airbrush and hairdryer.
Here is a list of the paints and tools I use for these specific bases.
1. Dirt from the yard or a flower pot. I prefer it from the yard because it doesn't have perlite or vermiculite in it, but since my yard is made of sand(?) I have to use flower pot dirt.
2.Superglue (cyanoacrylate).
3. A flat "drybrushing" paintbrush.
4. A base (duh)
The paints I use are:
0. Surface Primer (Vallejo)
1. Oak Brown (Army Painter)
2. USAF Green (Vallejo Model Air)
3. Desert Khaki (Reaper Master Series)
4. White (Vallejo Model Color)
5. Brown pigment; I don't remember the name. (Vallejo Pigments)
6. Faded Green pigment (Secret Weapon Pigments)
I start by gluing the dirt to the base. I let the dirt dry out for a couple days first. Its something I recommend doing during a period where you don't feel like painting that way you aren't waiting on it do dry before doing a project. I've heard you can bake it in the oven if you want it to dry faster, but I've never tried it, plus it might destroy any tiny roots you might have in the dirt, which are really awesome looking on the base as small branches and roots.
Then I prime the base using an airbrush. It doesn't take very long for the glue to dry. Its faster than gluing sand because the dirt absorbs the glue more easily. After, I scrape off the primer from the sides of the base. You can use a hobby knife, but I use my fingernail if possible so it doesn't damage the shiny surface of the base. You can paint them black also, or whatever color you prefer, but I find I always rub the paint off the sides when I play with the models so I just leave it as black plastic.
Next I water down the Oak Brown to the consistency of water. When you apply the mixture it should soak right into the base. I usually do the more rocky looking parts in brown and the finer textures in green to simulate moss and such. The dirt should vary in size so you get a more natural look. After this step you should have a very pale base.
I use a hairdryer on the low setting to dry the base. It should be pretty watery so if you add any more paint at this point it will just blend in and not really add anymore color. After it is dry I paint it with the same colors, but at "normal" consistency for painting a miniature. Don't go overboard on trying to get the paint in all the crevices. After you are done painting this step you should notice that the deepest parts are still the lightest. That is the way it should be.
Next I use Desert Khaki to drybrush the entire base. I usually go heavier on the brown areas and lighter on the green areas. I will mix in a little white in further highlights, but not a lot since the pigments will pull the contrast back down anyway and subtlety is key to this style of base.
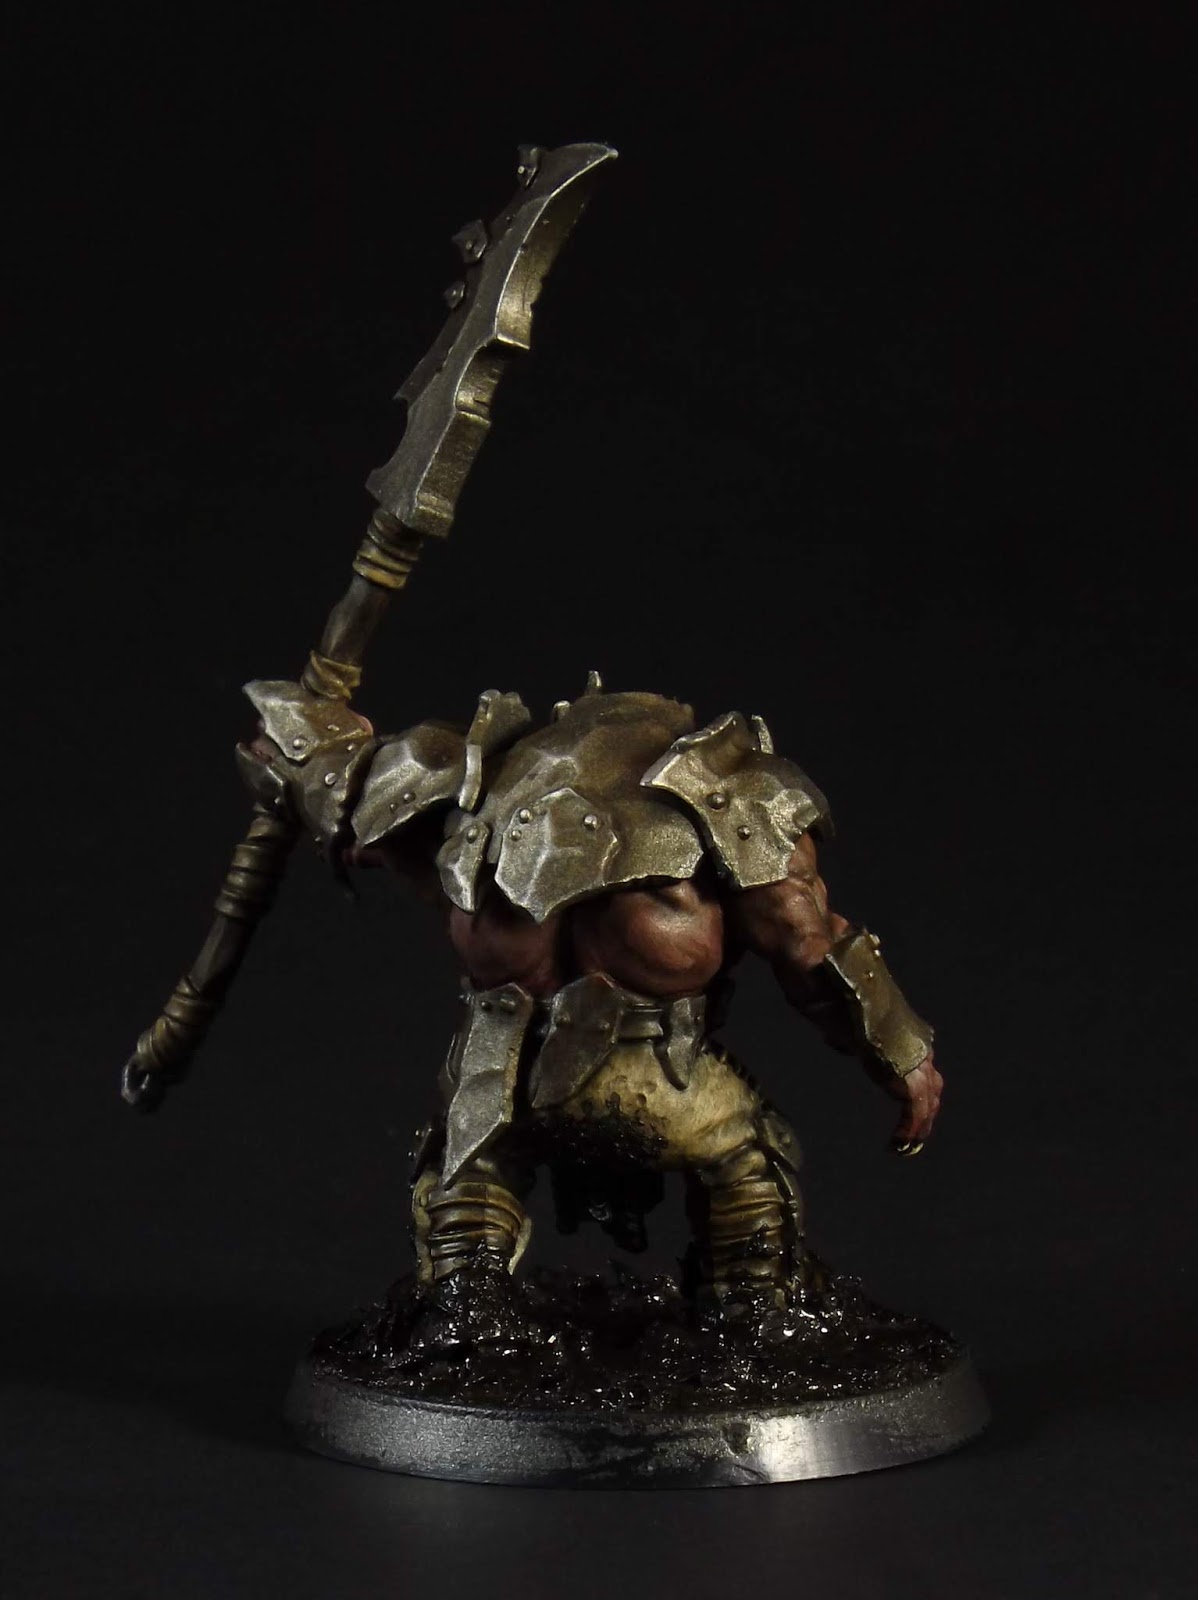
Before I add the pigments I spray the base with matte varnish. If you do it after it tends to ruin the "dryness" of the pigments and lessens the effect. If I add metal objects, like pipes and steal beams onto the base I use a rust colored pigment as well. I like the Pale Green pigment because it adds a "toxic" feel to the base without using a water effect. For sewer water effects I use Tamiya Clear Smoke straight out of the bottle as the last step, after pigments. I'll mix Tamiya Clear Red with the Clear Smoke for blood effects.
You can use different color pigments and paints to create different environments as well. Hope this helps.